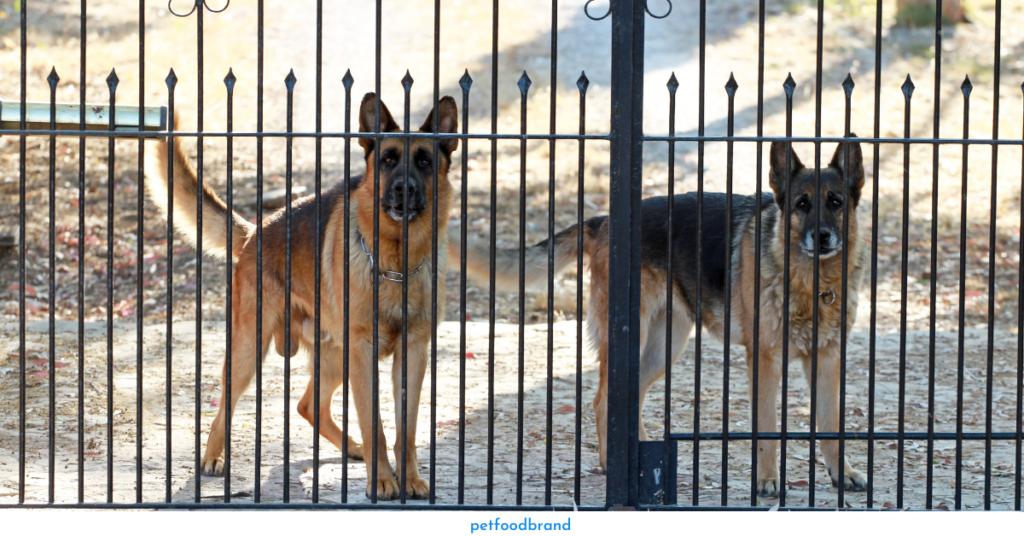
Is your dog always sneaking out of your yard and bothering the neighbors or getting into trouble? Fencing isn’t always effective when keeping a determined dog in the yard.
The best solution to this problem is a chicken wire fence, so keep reading to find out how to make one for your pet!
What is the best way to install a chicken wire dog fence? Select a frame fence or a fast fence with stakes and wires. Measure the area for the fence. Set the posts 8 to 10 feet apart. Start by installing the gate. Next, construct the support posts. Post drivers can be used to hammer metal stakes into the ground. Posthole diggers are best for digging holes for wooden posts. Fill the holes with cement to stabilize the posts. Last, use metal wire, nails, or thick staples to attach the chicken wire to the stakes or wooden posts.

As a first step, we’ll discuss the wood frame method because it is more durable and safer for your pet. This is going to take a solid weekend since there is a lot of woodworking involved.
Secondly, we will demonstrate how to construct a basic chicken wire fence with t-posts on a Saturday afternoon.
Method 1
This DIY method involves installing chicken wire on a wood frame dog fence.
Required material
- A roll of heavy-duty chicken wire
- Fence posts 4 x 4
- 1 x 4 or 2 x 4 boards
- Wood staples or nails
- Screws or nails
- An auger or posthole digger
- An electric screwdriver or hammer
- optional material: Saw, Quickset concrete, and Premade gate
1) Make a fence plan
Mark the ground with a line or small stakes to keep the fence straight as you decide where the fence will go.
2) Cut the posts and boards to size.
To obtain the desired height for the posts, cut four by fours to the desired length. To consider how deep you will bury the posts, add at least two feet to each post. Make sure each post can be fitted between two by fours or one by fours by cutting them to length.
3) Dig holes and install fence posts
Diggers or shovels can be used to dig holes. Posts should be placed into the holes. Dirt or concrete should be filled in around them.
4) Connect wires and add boards
Wrap the wire around the fence posts and stretch it along with their exteriors. Put wooden staples or nails into the wood and hammer them horizontally to bend over the wire before attaching it to the post’s top, middle, and bottom. Along each fence width, nail or screw boards over chicken wire
5) Put up a gate
Attach a fence gate to let your dogs in and out of your preplanned area.
Method 2
This DIY chicken wire fence involves installing a dog chicken wire fence with metal stakes.
Required material
- Thick rolls of chicken wire
- T-posts made of metal
- T-posts (for binding chicken wire fence)
- Premade gate (Optional)
- Post Driver
Instructions
Take measurements after planning the fence’s location. The posts of the fence should be separated by eight to ten feet. The gate should be installed first. Using a post driver, attach the remaining posts. Use metal wire to attach chicken wire to metal stakes.
FAQs
How to make a dog fence with chicken wire?
Take measurements after planning the fence’s location. The posts of the fence should be separated by eight to ten feet. The gate should be installed first. Using a post driver, attach the remaining posts. Use metal wire to attach chicken wire to metal stakes.
How to keep your dog from digging out of the fence with chicken?
If your dog is digging at the fence, you may want to try a natural method of repelling them. You can use either fresh or dried leaves of peppermint, spearmint, thyme, rosemary, or lavender. Plant the leaves around the base of the fence. Moreover, tennis balls, chewing toys, and food treats can distract a dog from the hole in the fence.
How to electrify chicken wire for a dog fence?
The easiest way to electrify chicken wire for a dog fence is to attach a wire to the bottom of the chicken wire and run between two metal posts. A ground wire should also be attached to the post to create an electrical ground.

Ankita is a passionate pet lover and head of content at Pet Food Brands. With her extensive knowledge and research, she provides pet owners with top-quality information on dog food and nutrition. Her dedication to improving the lives of dogs makes her a leading voice in the industry.


